
How to Pitch a Tent: A Beginner's Guide
Confused by camping gear? You’re not alone.
If you’ve ever stared at your tent wondering what a flysheet is or how guy ropes work, this guide is for you. Whether it’s your first time or you just need a refresher, here’s how to pitch your tent with confidence and ease.
Step 1: Choose the Right Spot
Before you even touch your tent, take a moment to survey your surroundings.
Look for:
-
Flat ground to avoid rolling in your sleep
-
Good drainage so rain doesn’t collect under you
-
Shelter from strong wind and excessive sun
-
Sun positioning based on your preference for warmth or shade
If it’s windy, angle your tent so the door faces away from the breeze.
Step 2: Unpack and Position the Tent
-
Lay the tent flat on the ground with the door facing your chosen direction.
-
Check for any missing components like pegs, poles, or guy ropes before you begin.
Step 3: Secure the Corners
-
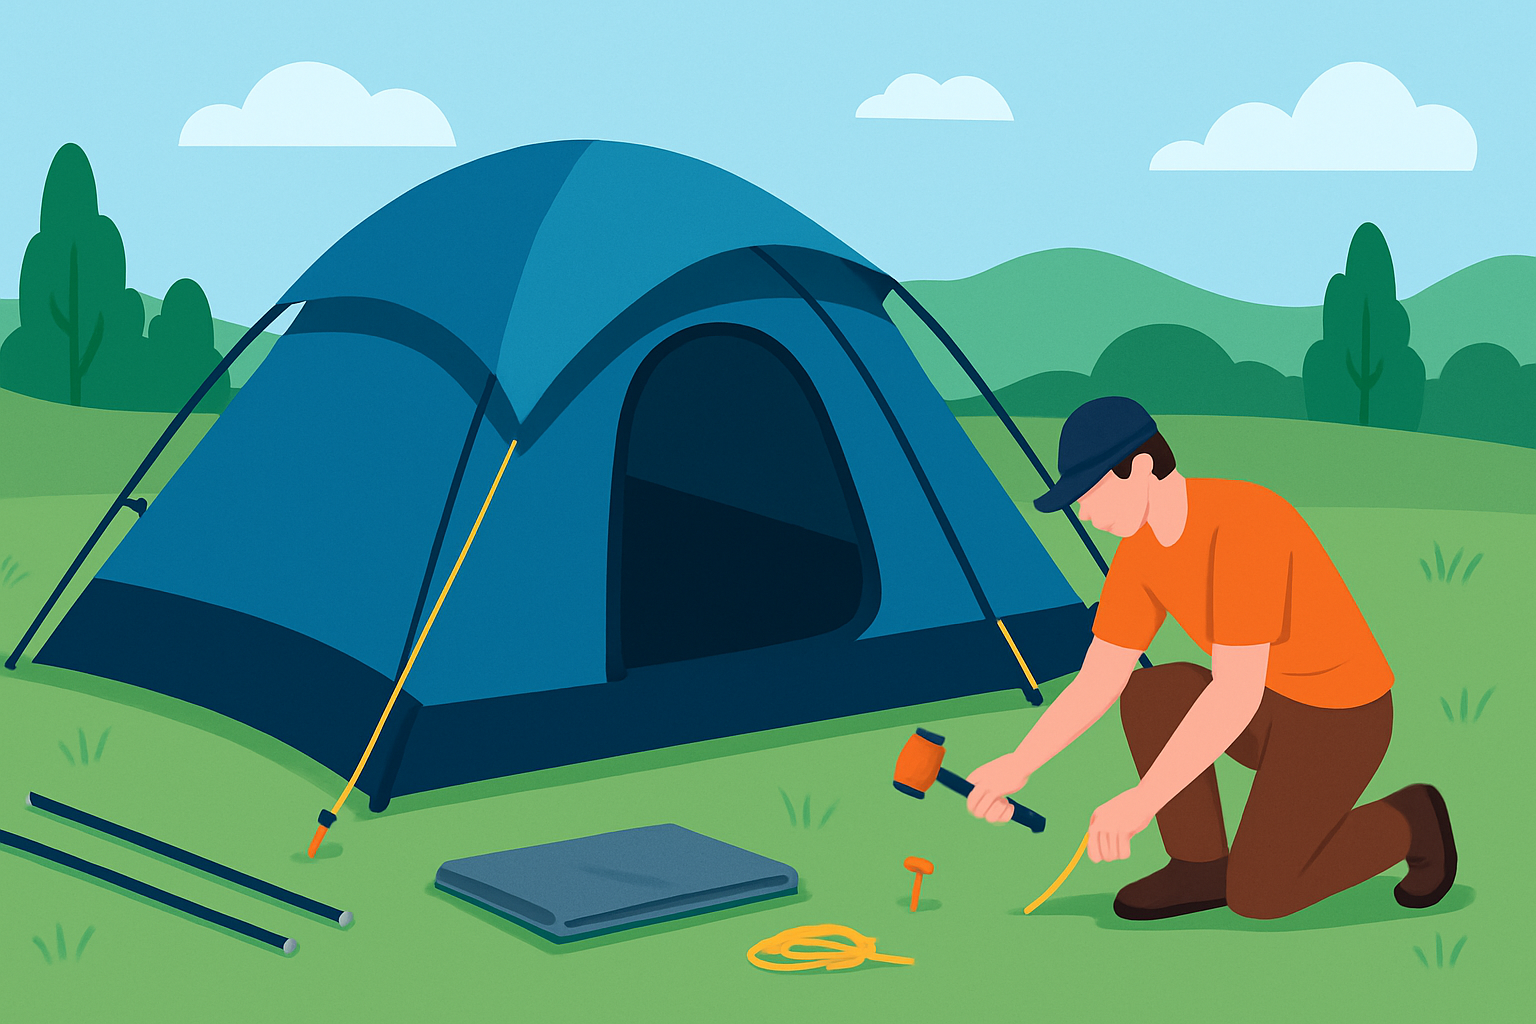
Peg down all four corners of the tent using a rubber mallet.
-
Drive pegs into the ground at a 45° angle, pointing away from the tent.
Step 4: Assemble and Insert the Poles
-
Lay out and assemble the tent poles, matching them to their corresponding areas.
(Many tents have color-coded sleeves for easy setup.) -
Thread each pole through its sleeve, starting with the main frame and ending with porches or extensions.
Step 5: Final Pegging and Guy Lines
-
Peg out all the remaining loops on the tent base.
-
Stretch and peg the guy ropes, following the seams of the tent for better wind resistance.
Pro Tip: Modern tents often come with a link to an online video tutorial. Watch it before your trip and consider doing a practice pitch at home to avoid surprises.
Tent Types & Special Tips
Dome and Small Tunnel Tents
These usually have two or three flexible fiberglass poles. You may not need to peg them down before inserting poles:
-
Use the ring-and-pin system to secure pole ends.
-
Flex the poles gently; tension is normal and helps shape the tent.
Tents with Fly Sheets and Inners
-
Inner-first pitch: Poles go into the inner tent first, flysheet added after. Offers max space but not ideal in rain.
-
Outer-first pitch: Flysheet goes up first, then inner tent is clipped in—great for wet weather.
Pop-Up and Inflatable Tents
-
Pop-up tents: Simply release from the bag and let them spring into shape.
-
Inflatable tents: Lay out and peg corners, then use a pump to inflate the air beams instead of using poles.
Both types are great for solo campers and quick setup.
Bell Tents
Charming and glamping-friendly, bell tents have:
-
One central pole inside
-
A round skirt that needs pegging all around
How to pitch:
-
Loosely peg the perimeter.
-
Insert and raise the central pole.
-
Peg out the door first, then walk around adjusting the tension.
Practice Before You Go
-
Pitch your tent at home or in a local park before heading out.
-
You’ll become familiar with the setup, identify any missing parts, and reduce stress on site.
Stay Connected, Stay Informed
Got WiFi or mobile data at the site? Bookmark this guide or watch tent-pitching tutorials online. A quick video refresher can save a lot of hassle when daylight is fading.
Now you're ready to camp with confidence!
Pitch your tent, enjoy the outdoors, and make memories that last a lifetime.